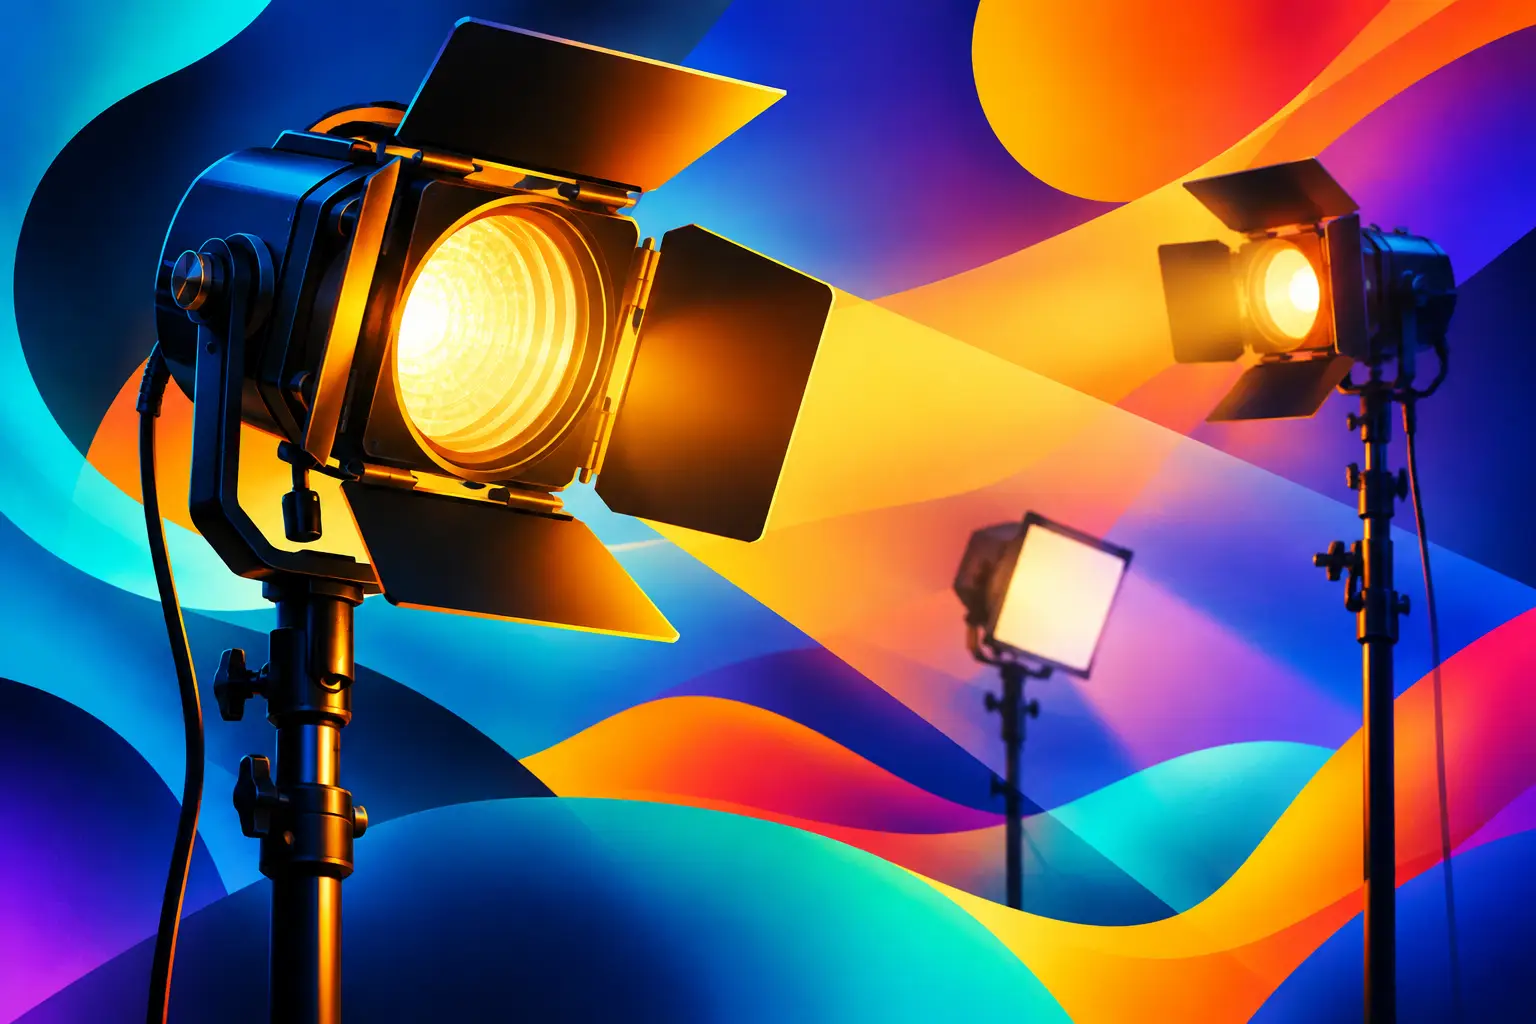
A hard light placed 30 centimetres too far from the subject can change the whole frame. So can a softbox that is too small, a window that cannot be controlled, or a fixture chosen for output rather than the look. Lighting equipment is not simply a kit list to tick off before a shoot. It is the system that lets a creative direction survive contact with the set.
For stills, video, product work and branded content, the best setup is rarely the one with the most fixtures. It is the one that gives the crew enough control to make deliberate decisions quickly. Start with the visual brief, then choose the environment, source, modifier and grip that support it.
Lighting equipment starts with the brief
Before selecting a lamp, define what the image needs to feel like. A beauty campaign may call for large, close, flattering sources with controlled specular highlights. A fashion portrait may need harder shadow edges and a stronger sense of shape. A social film might require a practical-looking key that remains consistent across several takes. Product photography often depends on flags, diffusion and precise reflections more than raw power.
This distinction matters because one fixture can serve very different purposes depending on its placement and modifiers. A powerful source bounced into a large surface can create a broad, quiet wash. The same source through a narrow reflector can give a sharp, directional result. Output matters, but control matters more once the camera is rolling or the client is on set.
Consider the camera plan early. Stills can accommodate a short, high-output burst that freezes motion. Video requires continuous output, stable colour rendering and a setup that works across a duration rather than a single exposure. If both are being captured on the same day, build around the moving image first where possible. It is usually easier to photograph within a continuous-light setup than to make a flash-led set work for film.
Flash or continuous lighting?
The decision is practical as well as aesthetic. Flash remains a strong choice for still photography where compactness, high output and motion freezing are priorities. It can hold ambient light back, create crisp detail and work efficiently for editorial, e-commerce and portraits. The trade-off is that the final result is less visible to the eye before the frame is taken, even with modelling lamps and tethered review.
Continuous lighting gives directors, talent, clients and photographers an immediate view of the scene. It is the natural choice for video, but it also suits hybrid shoots, fast collaborative content days and work where the relationship between practical lights and the key source needs to be judged live. Its limitations are heat, power draw and, depending on the fixture, lower usable output than flash.
When output is not the answer
More power is useful when you need to stop motion, shoot at a deeper aperture, overpower daylight or push light through heavy diffusion. But it can become a liability in a small set. High-output fixtures need more distance, more shaping and more careful management of spill. If the brief is intimate, low-contrast or close-framed, a smaller source positioned well may be the more efficient choice.
For daylight-led work, the goal may be to supplement rather than replace the window. A gentle fill, a bounced source or negative fill can retain the natural direction of the space while giving the subject more definition. Trying to overpower every trace of daylight often produces a result that looks neither natural nor intentionally lit.
Build a lighting system, not a pile of lamps
A useful lighting package has four jobs: it creates the key, controls contrast, shapes the background and protects the frame from unwanted spill. The lamp is only one part of that system. Modifiers and grip usually make the bigger difference between a quick test and a finished image.
Softboxes, umbrellas, diffusion frames and bounced surfaces enlarge a source and soften transitions. Grids, barn doors, snoots and projection attachments narrow or direct it. Flags and cutters remove light from places it should not reach. Reflectors lift shadows without introducing another fixture, while black fabric or negative fill adds shape by taking light away.
The choice between soft and hard light is not a choice between flattering and unflattering. Hard light can be elegant, graphic and full of character. Soft light can be clean, cinematic or deliberately understated. What matters is whether the source direction, shadow density and highlight behaviour are working for the subject, wardrobe, surface and art direction.
A useful rule for product shoots is to light the reflection, not the object. Glass, metal, gloss packaging and lacquered surfaces show the world around them. A white card may become the highlight; a black flag may create the edge that makes a form readable. This is why controlled space around the product can be as valuable as the fixture itself.
Lighting equipment in a blackout or daylight space
The studio environment sets the boundaries for every lighting decision. In a blackout corner, ambient light is removed from the equation. That makes exposure, colour temperature, contrast and shadow placement repeatable. It is particularly useful for product work, fashion, portraiture, controlled video and any brief that needs the background to stay consistent from the first setup to the last.
A dark environment also makes practical lighting easier to manage. If a lamp, screen or coloured source is part of the frame, it can become a purposeful element rather than competing with daylight from an unseen direction. The trade-off is that every layer of the image must be built. There is no window light to fall back on when the setup needs lift.
A daylight space works differently. It gives a starting point: natural direction, softness, variation and a lived-in quality that can suit lifestyle, editorial and content-led work. But daylight shifts with cloud cover, time of day and season. That is part of its appeal, and part of its production risk.
The smart approach is to decide whether daylight is the key source, a background element or something to be controlled. When it is the key, work efficiently and protect continuity with measured exposure and simple fill. When consistency matters more, use curtains, flags and artificial light to reduce its influence. Lit Studios offers both conditions in one Dublin production destination: The Void for precise blackout control and The Loft for daylight-led character.
Plan the package around the day, not the first shot
A lighting plan should account for the full schedule. A portrait setup that works beautifully for the first look may need to turn around for a seated interview, a packshot table or a group frame. Ask whether fixtures can be re-positioned safely, whether modifiers will fit the shot changes, and whether stands, booms and cables leave clear routes for crew and talent.
Power and heat deserve the same attention. Continuous fixtures can draw significant power and make a compact set uncomfortable over a long day. Keep cable runs organised, avoid overloading circuits and allow time for hot lamps to cool before handling or packing. If a fixture will be above talent or product, use the correct support and safety measures rather than improvising under pressure.
Colour management is another quiet production saver. Match sources where possible, or use mixed colour temperatures deliberately. A warm practical against a cooler daylight key can add depth. An accidental mix of greenish overheads, window light and unmatched LEDs usually adds correction work later. Test the camera profile, white balance and key materials before styling and talent arrive.
The questions that prevent wasted setup time
Before booking or building a package, confirm the essentials: whether the shoot is stills, video or hybrid; whether ambient light must be excluded; how much space the largest modifier needs; what backgrounds and surfaces are involved; how many setups are planned; and who is responsible for lighting decisions on the day.
Also be honest about crew experience. A compact, well-understood setup is safer and faster than a technically ambitious rig with no one assigned to manage it. For a lean content team, a strong key, controlled fill and practical background treatment may be enough. For a campaign with multiple products, talent changes and motion, extra fixtures and grip can protect the schedule.
The most effective lighting setups tend to look simple once finished. That simplicity is earned through clear choices: the right space, the right source, enough shaping tools and a plan that leaves room to respond when the brief changes. Choose equipment that gives the image direction, then give the crew time to use it well.
Leave a Reply